November hits different. The light fades early. Rain starts drumming against the windowpane. It’s the kind of weather that demands comfort. Not just any comfort. Something warm. Something with layers.
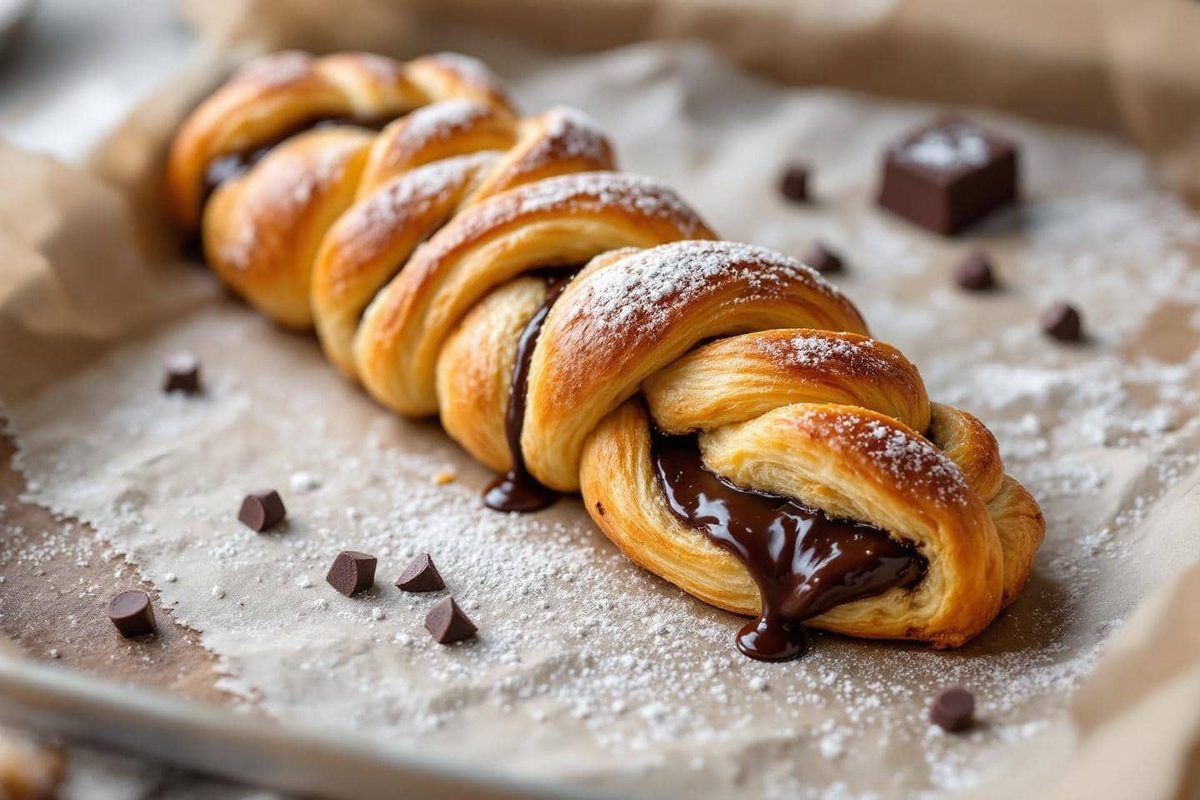
There is a specific magic in a home-baked treat that feels like a shortcut but tastes like effort. Enter the chocolate braided pastry. It’s not just bread. It’s not quite cake. It sits right in that golden zone of flaky, airy dough wrapping around a core of melting chocolate. Remember the school run chocolate croissant? This is that feeling, but bigger. Louder. More dramatic.
And the best part? You don’t need a pastry degree. You don’t need to wake up at 5 AM. You can make this on a Tuesday afternoon when you’re supposed to be working. It’s accessible. It’s spectacular. And it wakes up the whole house.
Here is how you nail the crispy yet tender chocolate braid without losing your mind.
The Ingredients
Let’s keep it simple. The beauty here is in the contrast: the crunch of the outside, the softness of the inside.
- Flaky pastry base: Store-bought puff pastry or filo dough works. If you want to go traditional, a laminated dough is ideal. The key is layers. Lots of them.
- The chocolate: High-cocoa percentage. You want it to melt, not burn. Chunks or bars broken into pieces create pockets of liquid chocolate.
- Butter: Unsalted. Cold. For brushing or adding extra richness between layers if you are laminating at home.
- Egg wash: One egg beaten with a splash of milk. This is non-negotiable for that glossy, golden-brown finish.
- Sugar: Coarse sugar or granulated. A sprinkle on top adds the necessary “crunch” factor mentioned in the title. It crunches against the tender crumb.
- Optional: A pinch of sea salt. It cuts the sweetness. It makes the chocolate taste more like chocolate.
Why This Works for Weekday Snacks
We often reserve baking for weekends. Sunday mornings. Holiday brunches. But life doesn’t stop in October. Sometimes you just need sugar and warmth in the afternoon slump.
This braid solves the “what’s for snack?” problem before it even arises. It’s ready in a flash because the heavy lifting—creating those layers—is often pre-done if you buy good quality pre-made dough. If you make your own, well, that’s a weekend project for another day.
The texture profile is what matters. “Crousti-fondante” isn’t just a French phrase for aesthetic appeal. It’s a structural promise. You bite in. The outer shell gives way. Then you hit the soft, steamed interior. Then the chocolate hits your tongue. It’s a three-act play in one bite.
How to Assemble Without a Mess
- Roll it out. If using puff pastry, keep it cold. Warm pastry melts before it bakes. That ruins the layers. You get grease, not flake.
- Lay the chocolate. Don’t just smear it. Use chunks. You want distinct pools of
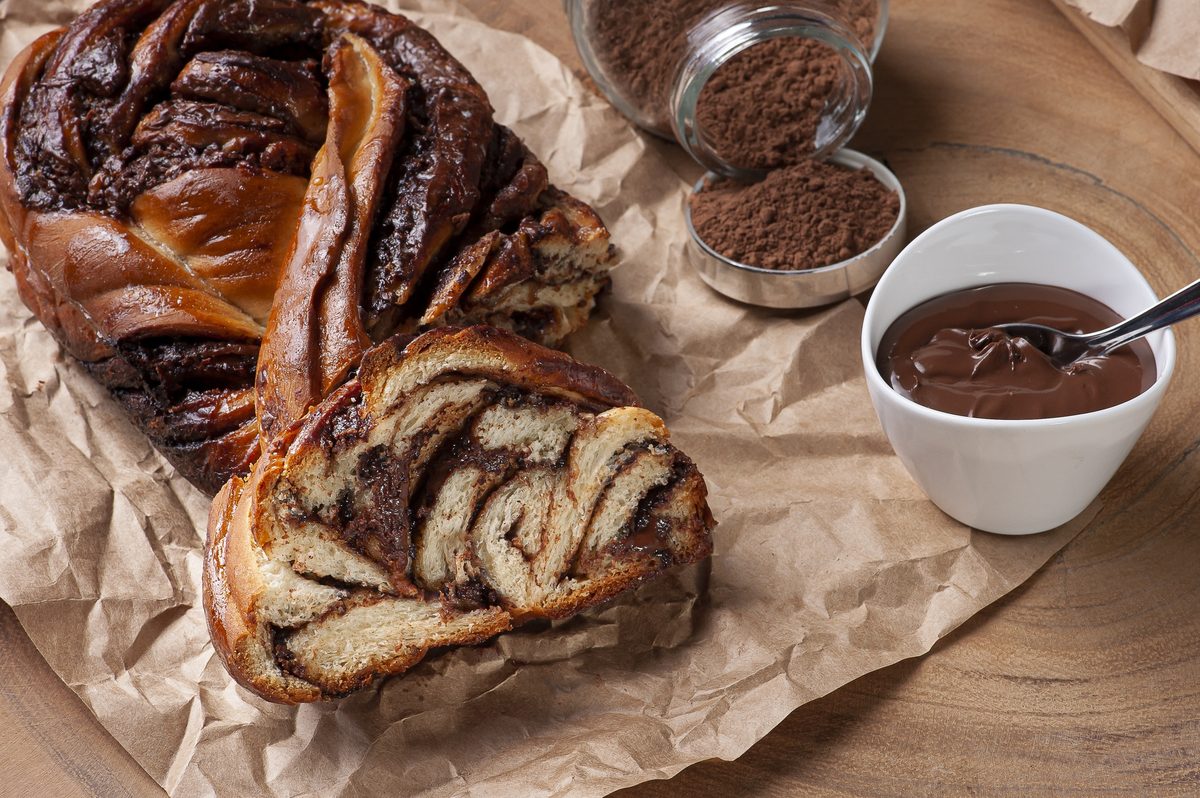

The secret to the perfect chocolate braided puff pastry
You do not need to be a professional baker to make something that looks like it came out of a high-end French patisserie. The trick lies in the shortcut. You start with a single roll of pure butter puff pastry, weighing between 230 and 250 grams. That is it. The foundation is bought, not made. This removes the tedious work of laminating dough and gets you straight to the fun part.
For the filling, you need 100 grams of dark chocolate intended for baking. Milk chocolate works if that is your preference, but the darker the chocolate, the better it contrasts with the sweet, flaky crust. You will also need one egg yolk, a tablespoon of milk, and optionally a tablespoon of brown sugar for that caramelized finish.
The assembly is almost too easy. Lay your puff pastry on a baking sheet lined with parchment paper. Place strips of chocolate down the center. This creates a deep groove. Now, cut the dough on either side into strips at a slight angle. Cross these strips over the chocolate in a braid pattern. It is simple geometry. The result is a visually stunning pastry that masks its own simplicity.
Brush the entire surface with a mixture of the egg yolk and milk. This ensures a golden, shiny exterior. If you want a bit of crunch and color, sprinkle brown sugar on top before baking. Cook at 200°C (convection) for just 20 minutes. You will know it is done when the pastry is deeply golden and the chocolate inside begins to melt into a rich pool.
Customizing your braid: nuts, fruits, and spreads
This recipe is a template. It begs for variation. Instead of plain chocolate, try spreading a layer of hazelnut spread. It mimics the texture of a rocky road bar. You can also sprinkle crunchy praline over the chocolate before braiding for added texture.
If you have toasted hazelnuts, crush them and scatter them on top. Caramel chips work just as well. For a seasonal twist, add thinly sliced pears or bananas. November is the perfect month for this combination. The fruit pairs beautifully with the ganache-like chocolate filling. It turns a simple snack into something that feels like the season itself.
Even leftover ingredients in your pantry can find a new purpose here. That forgotten tablet of chocolate or a jar of nutella can become the centerpiece of your afternoon treat.
How to get that crousti-fondant texture
The goal is a contrast between a crisp, airy crust and a soft, molten center. To achieve this, keep your puff pastry cold. If it has been sitting out, put it in the fridge for a bit. Cold dough puffs up more evenly and does not get soggy at the bottom.
Space the braid out on the baking sheet. Heat needs to circulate around the entire pastry. Do not crowd it. Watch the oven closely in the last few minutes. You want a firm golden color, not a pale blush. Tap the braid gently. It should sound hollow. If it sounds dense, it needs more time.
Let it rest for five minutes after taking it out of the oven. This is critical. It allows the chocolate to thicken slightly so it does not run out when you cut it. The result is a creamy center that holds its shape. A few flakes of fleur de salt on top can elevate the flavor profile dramatically. A light brush of melted butter underneath the pastry can also enhance the richness.
Serving ideas: transforming a snack into a celebration
A warm braid is good on its own. But pair it right, and it becomes an event. Serve it with homemade crème anglaise or a scoop of vanilla ice cream. The temperature contrast is key.
For a cozy autumn afternoon, pair it with a hot, foamy chocolate or spiced tea. A warm apple juice with cinnamon is another excellent choice. If you are serving brunch, add fresh seasonal fruits. Clementine segments, diced pears, or black grapes complement the richness of the pastry.
For a festive touch, brush the warm braid with a little warmed apricot jam. It adds a glossy shine and a burst of fruity acidity. A few orange zest strips on top do the same. This simple step makes the pastry look and taste like it came from a professional bakery.
Storing leftovers: keeping the crunch alive
Let’s be honest. These braids rarely last long. But if you have leftovers, do not ruin them by storing them incorrectly. Keep them at room temperature. Cover them with a clean kitchen towel. Do not use an airtight container. Trapped steam will make the pastry soggy and limp.
If the pastry loses its crunch, revive it. Put it in the oven at 150°C for five minutes. This restores the flakiness. Never use the microwave. It will turn the butter into grease and the pastry into a rubbery mess.
If you somehow have slices left, use them for a coffee accompaniment. Dip them in hot coffee or serve them with a small glass of melted chocolate for dipping. As the temperature drops, this pastry becomes the star of the season. It is a ritual for cold afternoons. Simple. Irresistible. Infinite variations. It might just become your new favorite way to end the day.